la misura ottenuta dà la lunghezza corretta dei 3 distanziatori da mettere sotto la ventola
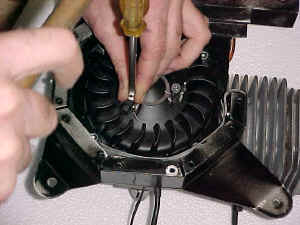
Prior
to assembly you must check the starter chord housing clearance.
Measure the distance from the face of the flywheel to the top of the Allen key (see picture) and add 4mm. (means 10 mm from the black surface).
This will be the right height of the 3 spacers under the fan (at left on below picture, tollerance = 0,5 mm).
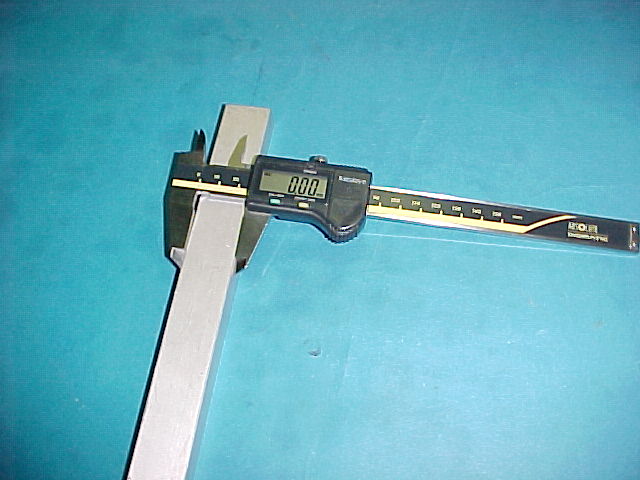
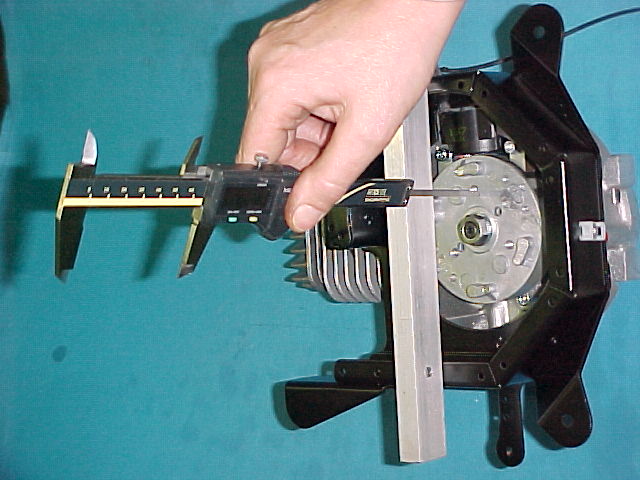
come misurare la misura X
how to measure X size
ATTENZIONE !
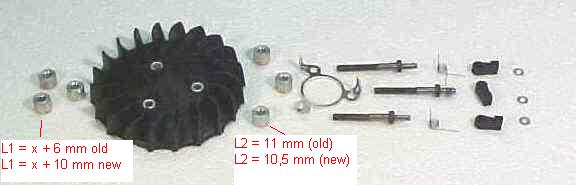
con la ventola prima serie (spessore scatola 30 mm) :
L1 = x + 6 mm , L2 = 10,5 mm
nuovo tipo (35 mm) L1 = X+10 mm, L2 = 11 mm
i distanziali L1 sono disponibili da 16 - 16,5 - 17 mm
BE CAREFULL !
old size ( 30 mm cooling box) : L1 = x + 6 mm , L2 = 10,5 mm
new type (35 mm) L1 = X+10 mm, L2 = 11 mm
L1 spacers are availlable : 16 - 16,5 - 17 mm
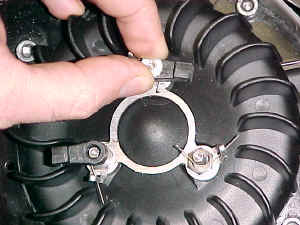
ATTENZIONE in seguito alla sostituzione della bobina.
Verificare sempre che ci sia uno spazio 1,5 mm tra bobina e ventola.
può essere necessario togliere 1 mm sotto alla ventola. Questo lavoro si può fare anche a mano strofinando la ventola su un foglio di carta abrasiva a grana grossa appoggiata su un piano di lavoro.